


What is VNC?
VNC stands for Virtual Network Computing. It is remote control software which allows you to view and interact with one computer (the "server") using a simple program (the "viewer") on another computer anywhere on the Internet. The two computers don't even have to be the same type, so for example you can use VNC to view an office Linux machine on your Windows PC at home. VNC is freely and publicly available and is in widespread active use by millions throughout industry, academia and privately.
For more information, please visit http://www.realvnc.com/
Do I have it in my system?
Type following command to check if you have the client and server installed in your system.
[tchung@tchung101 tchung]$ rpm -q vnc vnc-server
vnc-4.0-0.beta4.3.2
vnc-server-4.0-0.beta4.3.2
[tchung@tchung101 tchung]$
###
To configure vncserver as a service on your system, add yourself in following config file.
[tchung@tchung101 tchung]$ sudo vi /etc/sysconfig/vncservers

# The VNCSERVERS variable is a list of display:user pairs.
#
# Uncomment the line below to start a VNC server on display :1
# as my 'myusername' (adjust this to your own).  You will also
# need to set a VNC password; run 'man vncpasswd' to see how
# to do that.
#
# DO NOT RUN THIS SERVICE if your local area network is
# untrusted!  For a secure way of using VNC, see
# URL:http://www.uk.research.att.com/vnc/sshvnc.html

# VNCSERVERS="1:myusername"
VNCSERVERS="1:tchung"
###
Before starting vncserver as a service, let's create a vnc password with vncpasswd command.
Notice it creates a hidden directory .vnc under your home account with file passwd which contains your vnc password.
[tchung@tchung101 tchung]$ vncpasswd
Password:
Verify:
[tchung@tchung101 tchung]$ ls -d .vnc
.vnc
[tchung@tchung101 tchung]$ ls .vnc
passwd
[tchung@tchung101 tchung]$
###
Now let's start vncserver as a service.
[tchung@tchung101 tchung]$ sudo /sbin/service vncserver start
Starting VNC server: 1:tchung                              [  OK  ]
[tchung@tchung101 tchung]$
Take a look at the contents of .vnc directory now. You should have something similiar to following.
[tchung@tchung101 tchung]$ cd .vnc
[tchung@tchung101 .vnc]$ ls
passwd  tchung101:1.log  tchung101:1.pid  xstartup
[tchung@tchung101 .vnc]$
If you edit the script called xstartup, you will notice following comment in red.
#!/bin/sh

# Uncomment the following two lines for normal desktop:

unset SESSION_MANAGER
exec /etc/X11/xinit/xinitrc


[ -x /etc/vnc/xstartup ] && exec /etc/vnc/xstartup
[ -r $HOME/.Xresources ] && xrdb $HOME/.Xresources
xsetroot -solid grey
vncconfig -iconic &
xterm -geometry 80x24+10+10 -ls -title "$VNCDESKTOP Desktop" &
twm &
###
Since we've just edited vnc startup script, let's restart the vncserver.
[tchung@tchung101 tchung]$ sudo /sbin/service vncserver restart
Shutting down VNC server: 1:tchung                         [  OK  ]
Starting VNC server: 1:tchung                              [  OK  ]
[tchung@tchung101 tchung]$
So how do I connect to vncserver? Use vncviewer command in vnc client as following.
[tchung@tchung101 tchung]$ vncviewer localhost:1
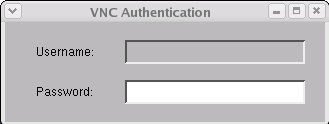
Enter your vnc password and here is the result: Screenshot
[tchung@tchung101 tchung]$ sudo vi /etc/sysconfig/iptables

# Firewall configuration written by redhat-config-securitylevel
# Manual customization of this file is not recommended.
*filter
:INPUT ACCEPT [0:0]
:FORWARD ACCEPT [0:0]
:OUTPUT ACCEPT [0:0]
:RH-Firewall-1-INPUT - [0:0]
-A INPUT -j RH-Firewall-1-INPUT
-A FORWARD -j RH-Firewall-1-INPUT
-A RH-Firewall-1-INPUT -i lo -j ACCEPT
-A RH-Firewall-1-INPUT -p icmp --icmp-type any -j ACCEPT
-A RH-Firewall-1-INPUT -p 50 -j ACCEPT
-A RH-Firewall-1-INPUT -p 51 -j ACCEPT
-A RH-Firewall-1-INPUT -m state --state ESTABLISHED,RELATED -j ACCEPT
-A RH-Firewall-1-INPUT -m state --state NEW -m tcp -p tcp --dport 22 -j ACCEPT
-A RH-Firewall-1-INPUT -m state --state NEW -m tcp -p tcp --dport 5901 -j ACCEPT
-A RH-Firewall-1-INPUT -j REJECT --reject-with icmp-host-prohibited
COMMIT

[tchung@tchung101 tchung]$ sudo /sbin/service iptables restart
Flushing firewall rules:                                   [  OK  ]
Setting chains to policy ACCEPT: filter                    [  OK  ]
Unloading iptables modules:                                [  OK  ]
Applying iptables firewall rules:                          [  OK  ]
[tchung@tchung101 tchung]$
 FN Blog Login
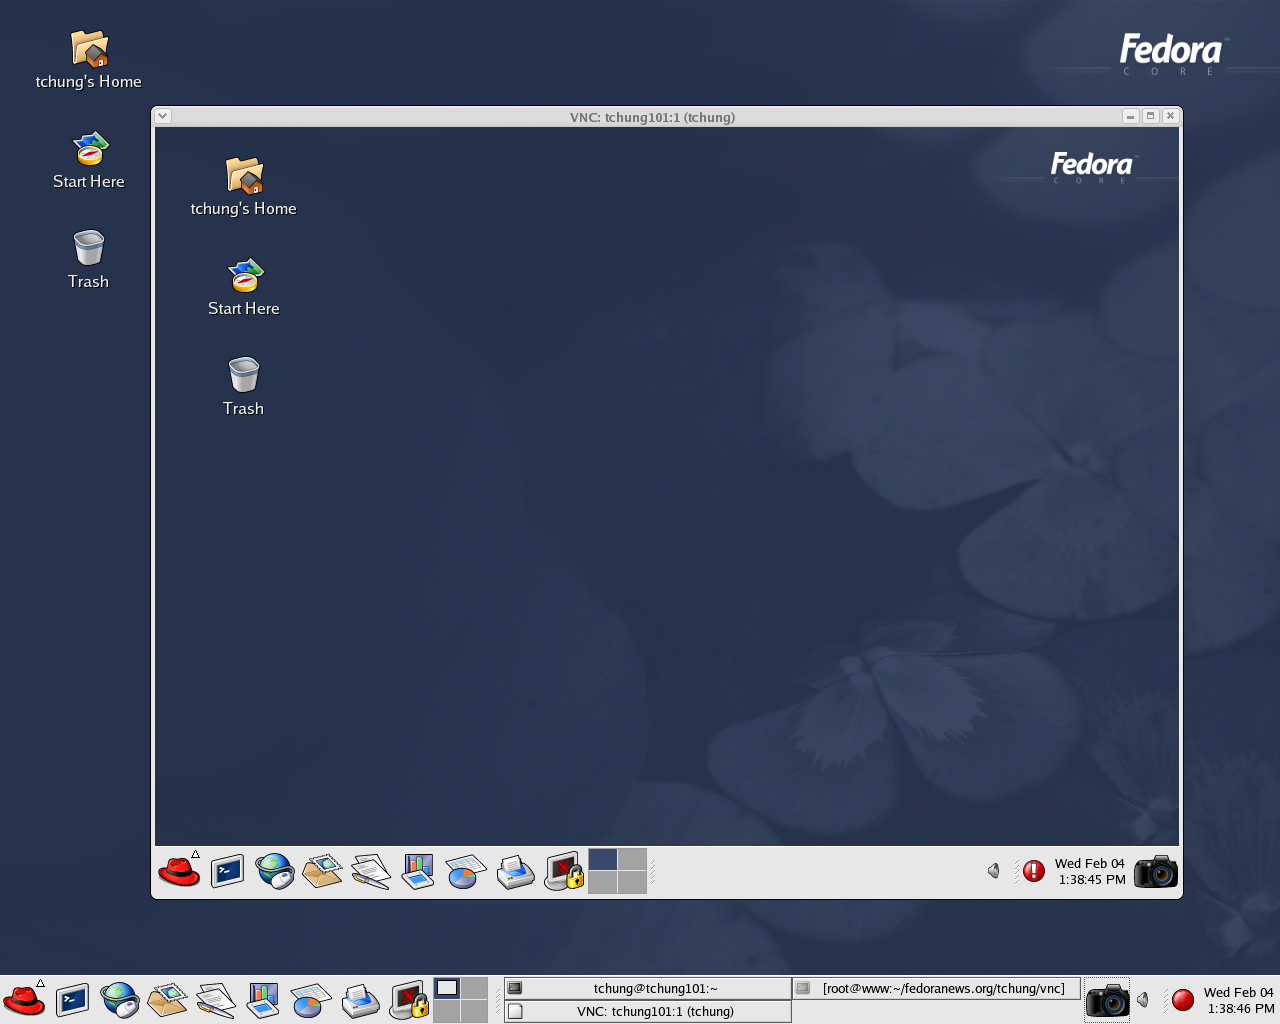